November 11, 2023
Enabling Comments on Hugo Website with Commento

Md. Saad

Commento, a versatile and user-friendly commenting system, offers an effective way to add comments and discussions to your website. Its simplicity in implementation and feature-rich capabilities make it a preferred choice for bloggers, content creators, and businesses alike. The most important part of Commento is that it doesn’t show ads, never sells data, and so on.
Sign up for Commento and create a new website
1. First, you have to create an account in Commento. Go to their website and create one.

2. Now, login and register your domain by clicking Add Domain

3. Now add a website name and website domain.

4. After submission of the Domain and site name, it will take you to the installation guide page. Commanto will provide just a two-line code. Copy the code and paste it into the page where you want to add comments on your Hugo site.
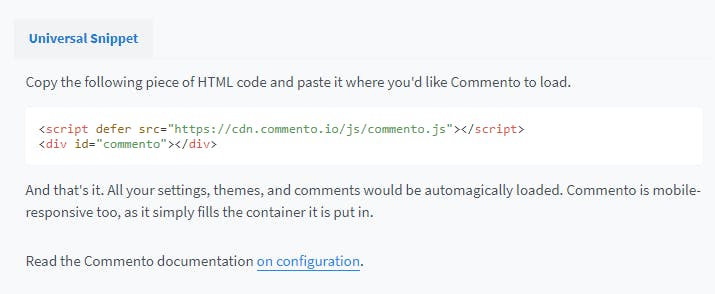
5. Suppose you want to add Commento on your Hugo blog single pages. Now go to, themes/layouts/blog/single.html or layouts/blog/single.html and paste the codes from Commento. Your code should look like the following code snippet:
<script
defer
src="https://cdn.commento.io/js/commento.js"
></script>
<div id="commento"></div>Moreover, you can also set a parameter in config.toml and use it here. To do that, add a variable Commento URL (you can name it whatever you like) in the config.toml file and set the commento domain as its value.
CommentoURL = "https://cdn.commento.io"Now, add the following code in the themes/layouts/blog/single.html or layouts/blog/single.html file.
<div id="commento"></div>
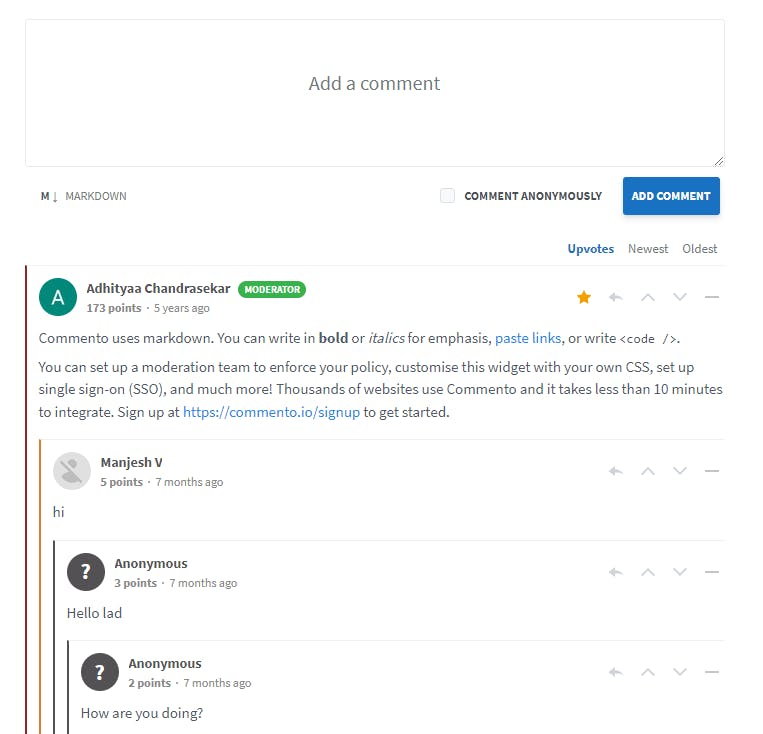
<script defer src="{{ .Site.Params.CommentoURL }}/js/commento.js"></script>That’s all, Commento is ready to use on your website. You will notice the change, and the view will look like the following image:
Note:
Commento cloud service Is not free. You have to subscribe to get a domain link. So, subscribe first to use Commento.
Feeling uncertain about how to start? Look no further, because StaticMania is here to assist you! Our dedicated team of experts is prepared to guide you through every stage of the process, from setting up a HUGO Website to Adding Commento and other features to it. Don't hesitate — contact us now to begin your journey.