July 27, 2026

Md. Saad
In modern web development, clarity and efficiency are everything. The foundation of effective design is typography; how your text appears on a blog, landing page, or dashboard can make or ruin the user experience.
Tailwind CSS’s utility-first methodology makes text styling exceedingly simple. In this guide, we’ll take you from the fundamentals to advanced Tailwind v4 configurations and modern layout techniques.
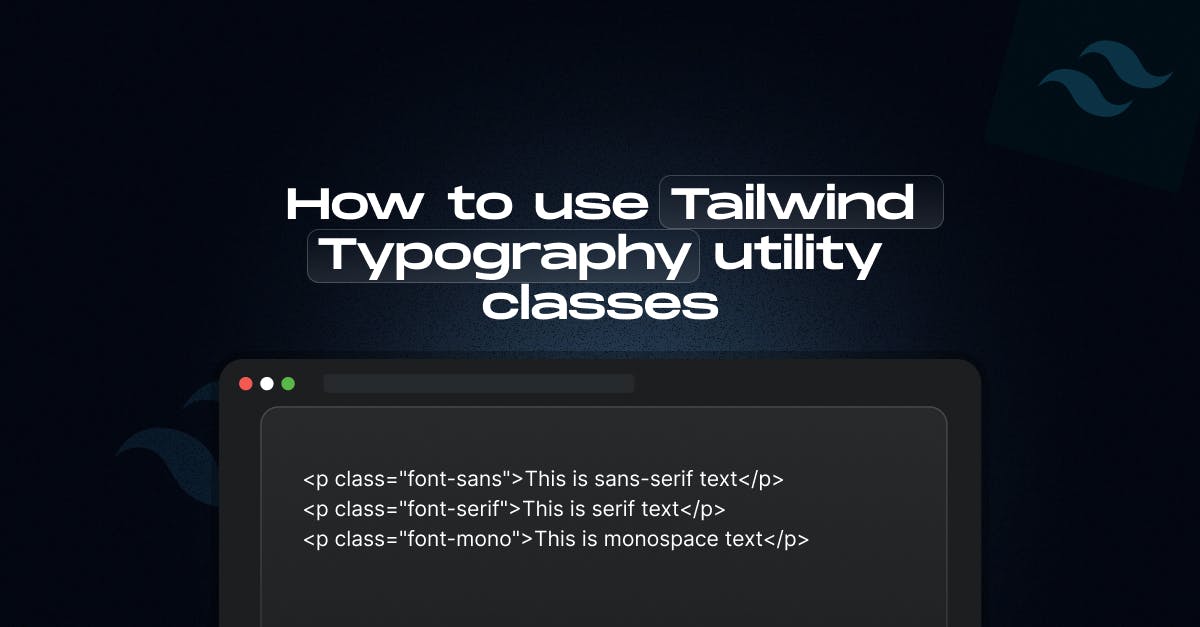
Tailwind simplifies font management using font-{family} utilities. By default, it includes sans, serif, and mono.
<p class="font-sans">Standard UI text (Inter, Roboto, etc.)</p>
<p class="font-serif">Editorial or formal text (Georgia, Times)</p>
<p class="font-mono">Code and technical data (Menlo, Consolas)</p>In Tailwind v4, customizing fonts is now CSS-first using the @theme directive in your main CSS file.
In your CSS file:
@theme {
--font-poppins: "Poppins", "sans-serif";
}After that, you need to apply it in your HTML:
<p class="font-poppins">Stylish custom font</p>Controlling the flow and casing of your text is essential for visual hierarchy. Tailwind provides intuitive classes for alignment and case modification.
<p class="text-left">Standard left alignment.</p>
<p class="text-center uppercase tracking-widest">Centered and Uppercase Headline</p>
<p class="text-right lowercase italic">Right aligned and lowercase info.</p>
<p class="capitalize">this will capitalize the first letter of every word.</p>These classes solve the "ugly line break" problem that has plagued web designers for years.
The "breathability" of your text determines how easy it is to read.
<p class="leading-loose tracking-tight">
This text has plenty of vertical space but tight character spacing for a modern look.
</p>Tailwind has a scale ranging from text-xs to text-9xl. The / syntax in contemporary Tailwind allows you to merge font-size and line-height into a single class.
| Goal | Shorthand | Description |
|---|---|---|
| Large & Tight | text-lg/tight | Large font with narrow line height |
| Small & Loose | text-sm/relaxed | Small font with breathable lines |
| Custom Size | text-[22px]/[30px] | Pixel-perfect arbitrary values |
Using decoration tools makes it easy to add underlines or make text stand out. Even the underline's color and thickness can be altered.
<p class="underline decoration-blue-500 decoration-2 underline-offset-4">
Customized Underline
</p>
<p class="line-through text-gray-400">Old Price: $99</p>
<p class="italic font-semibold">Emphasized Text</p>Manually styling each <p> and <h1> is inefficient for blogs or docs. This is done automatically via the @tailwindcss/typography plugin (the prose class).
Installation (v4):
@plugin "@tailwindcss/typography";Usage:
<article class="prose dark:prose-invert lg:prose-xl">
<h1>Automatic Styling</h1>
<p>All nested tags inside this article will look beautiful by default.</p>
</article>With Tailwind's mobile-first strategy, you can change the size of your text based on the user's device:
<h1 class="text-xl md:text-4xl lg:text-6xl font-black">
Responsive Headline
</h1>| Category | Utility Class | Result / Description |
|---|---|---|
| Font Family | font-sans, serif, mono | Sets the typeface stack |
| Font Size | text-xs to text-9xl | Scales from 12px to 128px |
| Font Weight | font-light, medium, bold | Sets weight (300, 500, 700) |
| Sizing + Leading | text-base/relaxed | Sets size (1rem) + line-height (1.625) |
| Alignment | text-left, center, right | Horizontal text alignment |
| Case Transform | uppercase, lowercase, capitalize | Change text casing |
| Letter Spacing | tracking-tighter, widest | Adjusts space between characters |
| Line Height | leading-tight, relaxed | Adjusts space between lines |
| Modern Wrapping | text-balance, text-pretty | Fixes uneven lines and orphans |
| Decoration | underline, line-through | Adds lines to text |
| Style | italic, not-italic | Toggles font style |
| Smoothing | antialiased | Crisper rendering on macOS |
Typography plays a critical role in how users experience your website. Thanks to Tailwind CSS's utility-first approach, managing typography becomes efficient, scalable, and flexible. Everything is handled through simple class names, from font families and sizes to alignment, spacing, and responsive styles—no custom CSS required.
Whether you're building a blog, dashboard, or marketing site, Tailwind’s typography utilities allow you to create clean, readable, and visually appealing layouts that work beautifully across all screen sizes. Understanding how to use these utilities properly can significantly enhance your design workflow and consistency.
If you want to implement clean, scalable typography in your project using Tailwind CSS but aren’t sure where to start, StaticMania is here to help. Our team has deep experience with Tailwind-based design systems, responsive UI builds, and fine-tuned typography for web and mobile. Contact us to bring clarity and visual consistency to your digital product.
Install @tailwindcss/typography and include @plugin "@tailwindcss/typography"; in your main CSS file. Then add the prose class to any wrapper element (e.g., <article class="prose">) to style raw HTML content automatically.
The prose class automatically applies clean default typography styles—including font sizing, line height, heading margins, and code block formatting—to plain HTML rendered from Markdown or CMS backends.
Use text-{size} utility classes like text-sm, text-base, or text-3xl. You can set size and line height together using shorthand like text-lg/relaxed or custom values like text-[18px].
Define a font variable inside the @theme directive in your CSS file (e.g., --font-poppins: 'Poppins', sans-serif;). Then apply it directly in your HTML markup using the utility class font-poppins.
text-balance evenly balances text across lines to fix awkward breaks in headlines, while text-pretty prevents orphans (single words sitting alone on the final line) in long-form body paragraphs.
Attach breakpoint prefixes directly to typography utilities, such as text-base md:text-xl lg:text-3xl. Tailwind dynamically adjusts font sizes across mobile, tablet, and desktop screens without writing custom CSS media queries.