March 25, 2022
How to Install & Setup a Hugo Theme

Juhair Islam

Hugo is one of the fastest modern static site generators. It's very easy to use for developing static websites. There’s not much you have to learn to get started with Hugo. It is simple, flexible, fast, and beginner-friendly.
No doubt, you can start a Hugo blog or site in a breeze. Additionally, there are so many pre-designed Hugo themes that take all your trouble to build, design, and organize your site. These pre-built themes are developed by the Hugo developer community. And these Hugo themes are available to download and implement at any time.
Hugo has some rules to follow and it does all the hard work for you. Here are a few simple steps for getting started with Hugo:
Step 1: Install Hugo
You can download Hugo from its GitHub page for any platform here. You can build the program or download the build file and set the environment variable. For windows, set the path variable.
For Homebrew users (Linux,Mac)
brew install hugoFor Snap users (Linux)
snap install hugo --channel=extendedFor Go users(any platform)
mkdir $HOME/src
cd $HOME/src
git clone https://github.com/gohugoio/hugo.git
cd hugo
go install --tags extendedFor more information click here
Step 2: Setup Page
Once Hugo is installed, you can create a new Hugo site by running
hugo new site DEMONow there is a project created named “DEMO” at your location. But right now this project is fully empty. So we need a theme to run.
Step 3: Install a Hugo Theme
You can find lots of themes on the Hugo site. But for this project we will use this theme.
First we need to download the source code of this theme from here. Use git to fork then download or clone the project on your .../DEMO/themes/… .Or navigate to the project root directory in terminal and then write
git init
git submodule add https://github.com/StaticMania/portio-hugo.git themes/portioNow navigate to the /themes/portio/exampleSite from your project root directory.
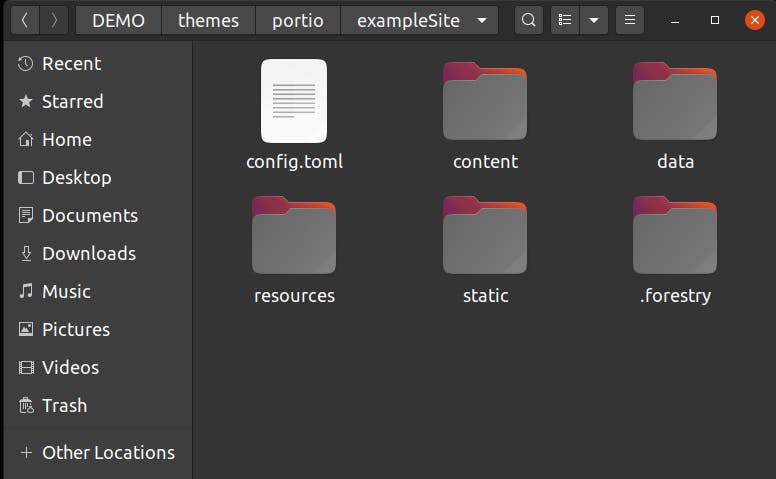
Copy all the files and paste them in your root directory on your project (It will replace some old files)
We can run it by typing
hugo serverNow our site is running in http://localhost:1313/
Your primary job is done. You can edit the main contents, header, footer and pages navigation from the `config.toml` file.
For editing blog posts navigate to the `content/blog` folder. Blog posts are developed in a markdown file. Create new blog post by
hugo new blog/new-hugo-blog-post.md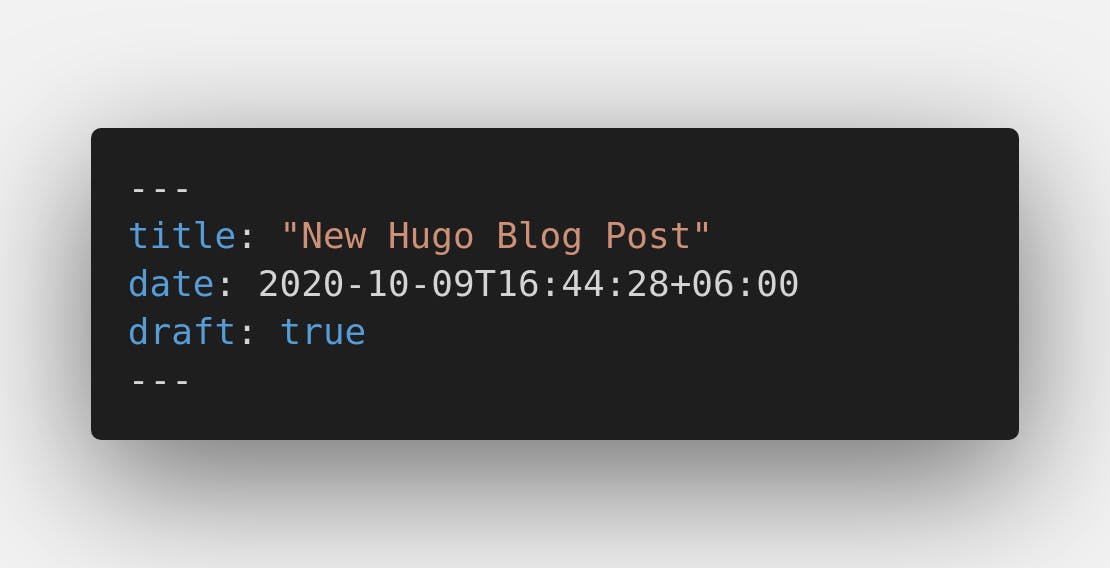
This will create a new .md file. Now remove the draft: true on line 3 and add
featureImage: images/allpost/...jpg
postImage: images/single-blog/...jpg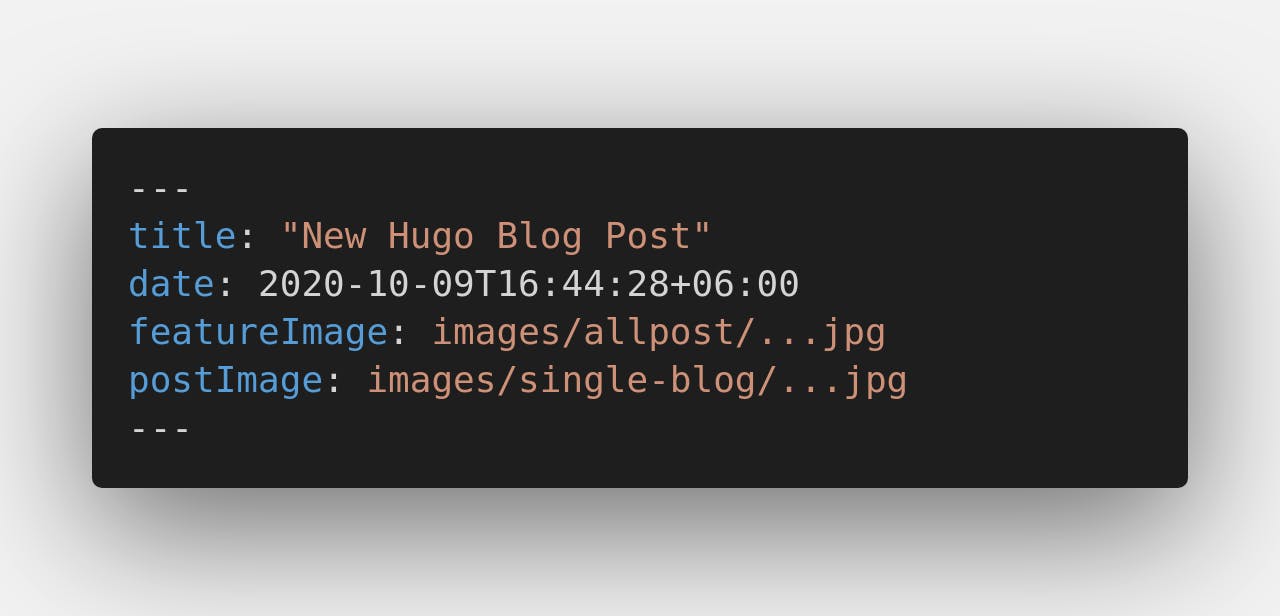
Pictures for the posts can be found at /static/images. You can use your own picture just add them into the folder and set the link. Edit the file in your own way, but remember to save the title as the file name.
You can also edit a Portfolio the same way as a Blog. Add new post by
hugo new portfolio/new-hugo-portfolio-post.mdTo edit other data like paragraphs, buttons, titles you can find these items on ../DEMO/data/.. Now customize the project in your own way.
Step 5: Publishing the Site
To build the project type
hugoIt will create a “public” folder in your project’s root directory for the build files. Use it to publish your awesome Hugo website.
This theme also has Forestry links. Next tutorial I will show you how to add a Git base CMS to your Hugo project.