April 28, 2024

Md. Saad
A Progressive Web App (PWA) is a web application that gives consumers a mobile app experience by leveraging contemporary web technology. PWAs are made to function on any platform or device—desktop, laptop, tablet, or smartphone—that has a browser that complies with standards.
Implementing PWA in a Next.js App follows some simple steps. It will help the next.js app to use offline. Here are the guidelines for adding Progressive Web Apps with Next.js.
The first and foremost step to begin with is creating a Next.js App. Use the following command and create a next.js app.
npx create-next-app app-nameAs it is not an article on creating the next.js app, we will not discuss it in detail. If you want to read it in detail follow the link.
Now it’s time to add next-pwa package. This package is a Next.js plugin that enables Progressive Web App (PWA) features in your Next.js applications. Follow the process to add next-pwa to your project.
Yarn add next-pwa import withPWAInit from "next-pwa";
const withPWA = withPWAInit({
dest: "public",
});
export default withPWA({
// Your Next.js config
});The above code sets up a Next.js application with basic PWA capabilities using the next-pwa package. There are many more scopes to add here. You can visit the link for more information.
The next step is creating a manifest.json file. It is a simple JSON file that provides metadata for the PWA. It contains information such as the application's name, icons, theme colours, and other properties. This file is used by web browsers and platforms to present the application in a more app-like manner, especially when added to the home screen of a mobile device or desktop. Creating a manifest.json file is very simple. Just create the file inside the public folder and add the following codes. You can also use Simicart to generate the file.
{
"name": "PWA App",
"short_name": "App",
"icons": [
{
"src": "/icons/android-chrome-192x192.png",
"sizes": "192x192",
"type": "image/png",
"purpose": "any maskable"
},
{
"src": "/icons/android-chrome-384x384.png",
"sizes": "384x384",
"type": "image/png"
},
{
"src": "/icons/icon-512x512.png",
"sizes": "512x512",
"type": "image/png"
}
],
"theme_color": "#FFFFFF",
"background_color": "#FFFFFF",
"start_url": "/",
"display": "standalone",
"orientation": "portrait"
}You can customize it according to your requirements.
Finally, we have to use this manifest.json file in the metadata. Go to app/layout,js file and add the manifest.json file into the metadata. A sample example is given below:
export const metadata = {
title: "Create Next App",
description: "Generated by create next app",
manifest: "/manifest.json",
};yarn bulid
It will create two files in your public folder. These are sw.js and workbox-***.js
Now, run the project using the following code:
yarn dev
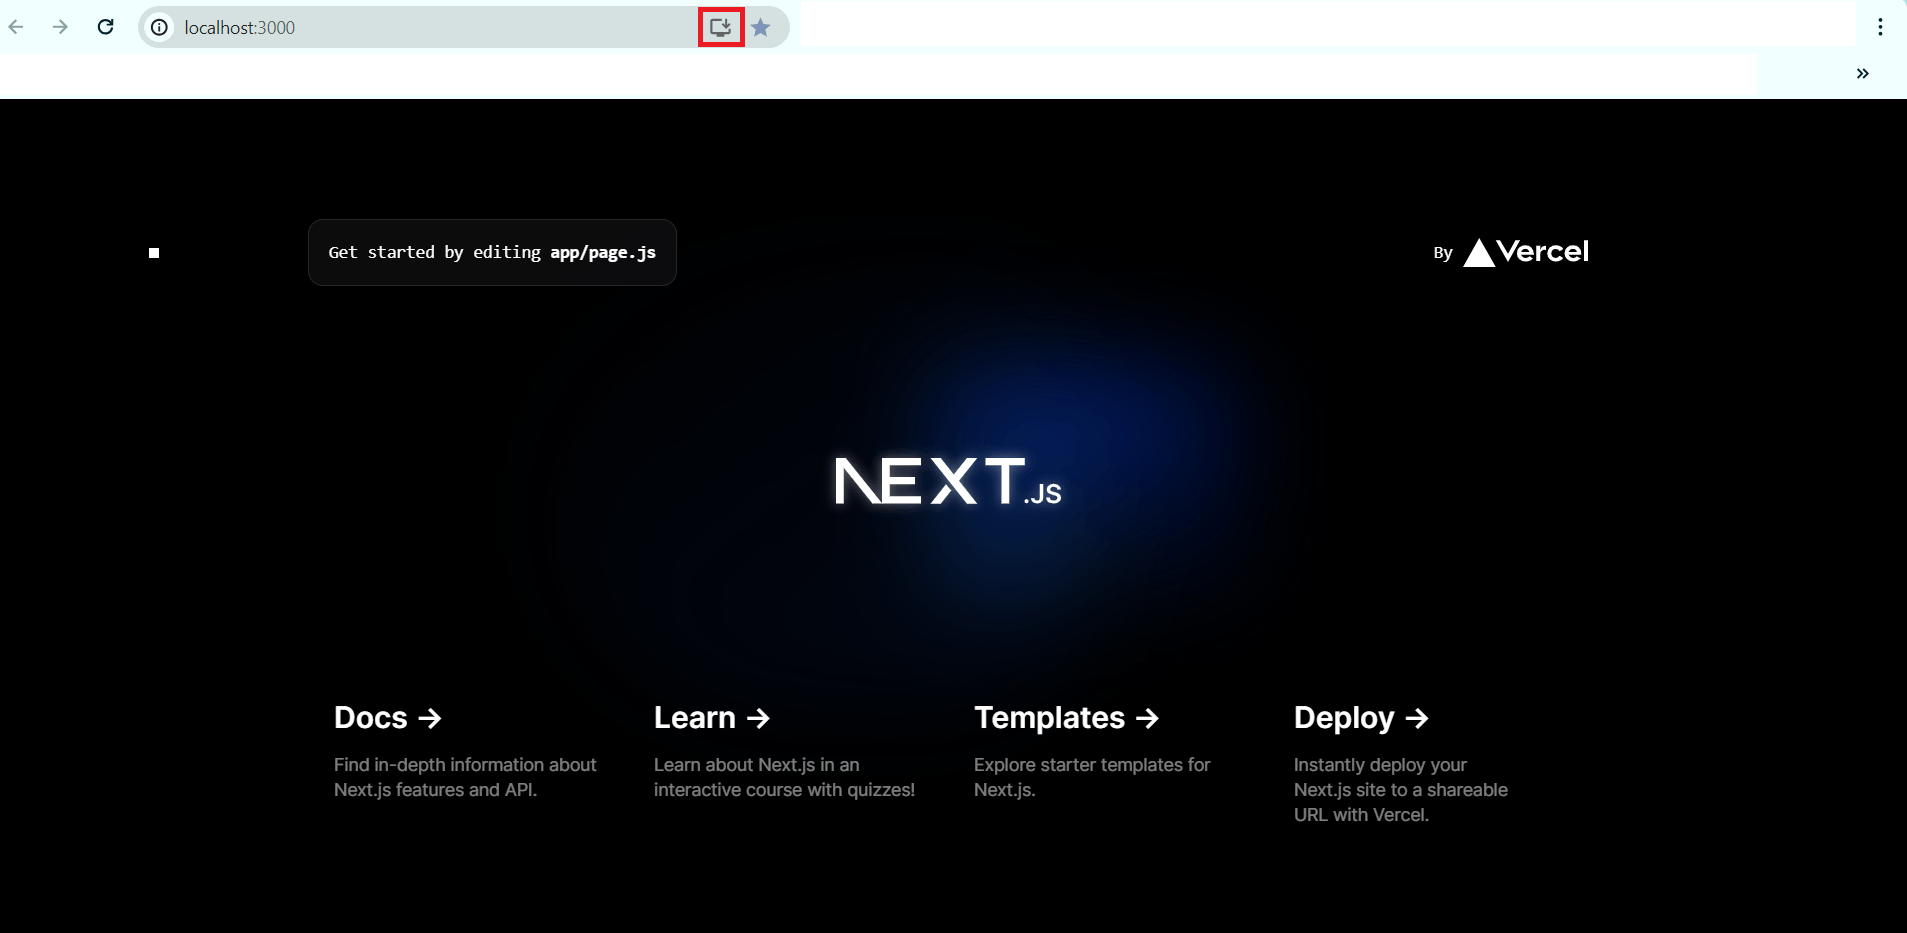
Open your web browser and navigate to localhost:3000. You should see an installable icon in the upper-right corner of the URL bar. You can find and start the application on your computer by simply clicking on this icon.
Once you click the installable icon, a prompt to install the PWA app will be shown. Click the install button and the app will be installed. You can use it
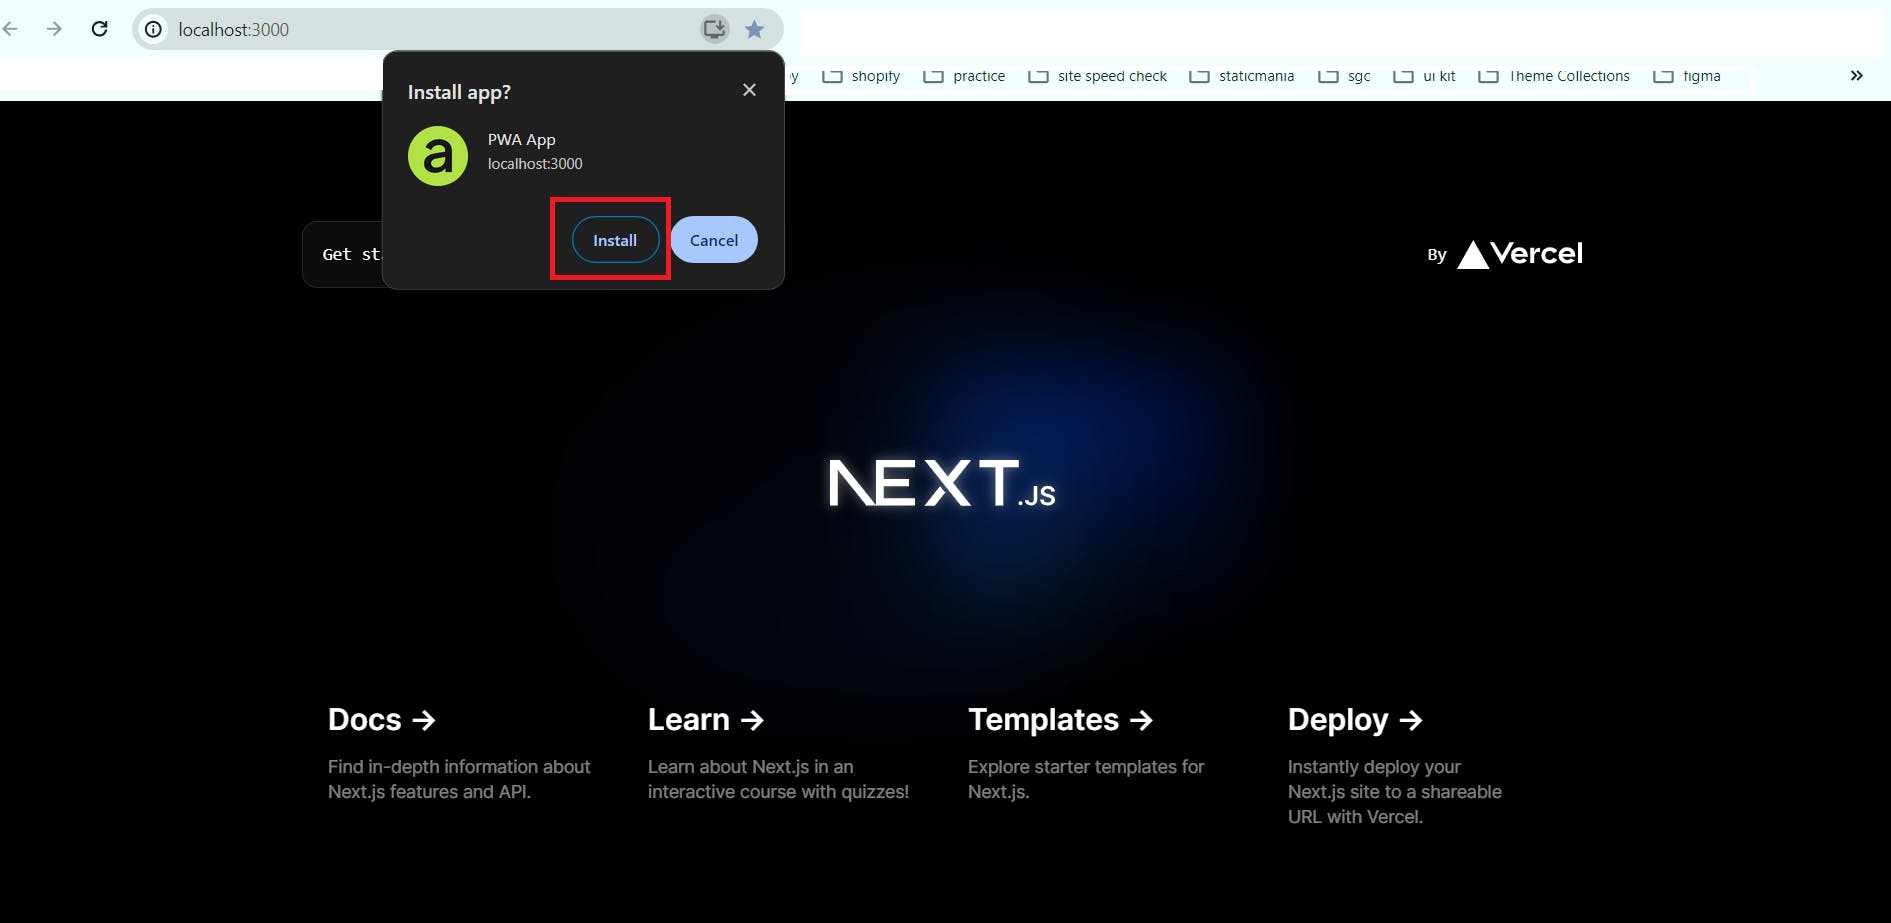
Upon successfully installing your PWA on your device, you can find and execute the app on your PC.
After the build, your project will create additional files in the public folder. These files are not necessary to add to GitHub. You can remove them from the version control. Add the following codes on the .gitignore file to remove them.
**/public/sw.js
**/public/workbox-*.js
**/public/worker-*.js
**/public/sw.js.map
**/public/workbox-*.js.map
**/public/worker-*.js.mapCongratulation! Now that you have everything you need, you can turn your Next.js website into an impressive Progressive Web App with Next.js. Cheers to your successful journey!
To start your journey of creating an awesome interactive PWA with Next.js contact StaticMania. Our dedicated Next.js PWA team will guide you all the way.